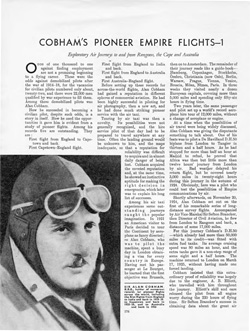
On 30 June
1926, Alan Cobham and mechanic A.B. Elliot departed the River Medway,
England, on a survey flight to Australia in De Havilland D.H.50J G-EBFO.
The aircraft was powered by a 385hp Armstrong Siddeley Jaguar and was
equipped with floats. Cobham later wrote "The reason for taking a
seaplane on this flight was chiefly one of protection... From Calcutta
to Australia it is simply impossible to land anywhere but on a specially
prepared aerodrome. I did not like to contemplate being caught out in
a severe monsoon storm over...tropical jungle, with no prospects of landing
- and so decided that although a seaplane has many disadvantages as compared
with an aeroplane, it would certainly be a far more practical and safe
proposition."
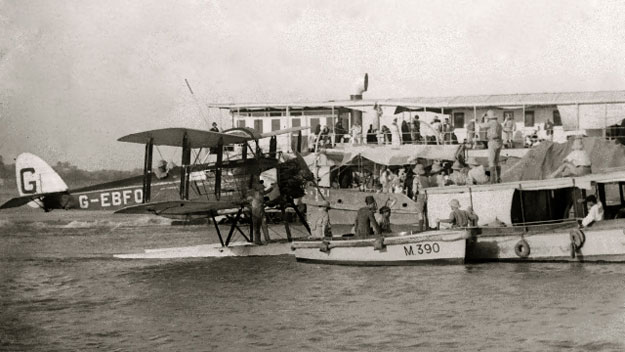
The atmospheric photo above shows Cobham in the cockpit and, probably, Elliott on the float, preparing to start on the Tigris River at Baghdad on 6 July 1926. Cobham was always concerned about the seamanship of the skippers of the many boats that crowded around wherever they alighted as the D.H.50 was quite delicate by comparison.
Sadly, Elliott was to die the following day from an Iraqi tribesman's lucky bullet as they flew low over the southern marshes in a sandstorm. Bedouin tribesmen fired at the aircraft, breaking a fuel line and fatally wounding Elliot: he later died in hospital. Cobham took on Sgt. R.W. Ward of 84 Squadron RAF as a replacement and they arrived at Port Darwin on 5 August 1926.

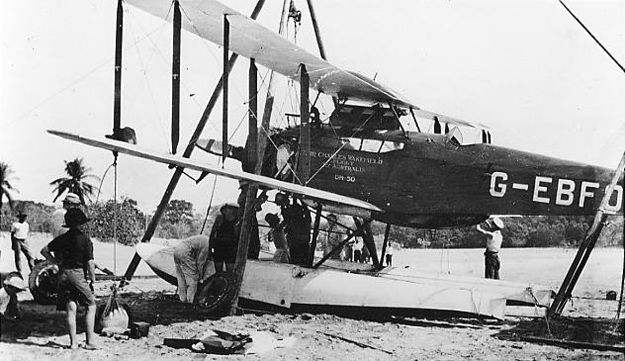
On arrival
in Australia the D.H.50's floats were replaced with wheels by the crew of HMS Geranium on Darwin's Mindil Beach, where the photo above was
taken on 5 August 1926. Wheels were more practical in Australia's dry
interior. The photo below shows the aircraft being lifted on the beach at Darwin
prior to the wheels being fitted. The signwriting on the side of the aircraft
reads 'SIR CHARLES WAKEFIELD / FLIGHT / TO AUSTRALIA / DH 50' (Wakefield
was the flight's sponsor).
Cobham was also touched that the Controller of Civil Aviation, Col. Horace Brinsmead was in Darwin to greet him personally, later writing "Everything worked according to plan because all arrangements had been so perfectly organised for us by Colonel Brinsmead, who had travelled by air all the way from Melbourne to Darwin to meet us. I shall always consider this a very great compliment, for the Australian Government had sent their Director of Civil Aviation [sic] nearly two thousand miles to meet us - which is the equivalent of the British Government sending Sir Sefton Brancker to some point five hundred miles beyond Constantinople to meet an air voyager on the way to England!" Brinsmead was accompanied by Inspector Howard of the CAB.
Cobham and Ward subsequently set off for Melbourne, arriving on 15 August. The photo below probably shows Cobham and Ward arriving in the Melbourne area in the D.H.50.
Click here to see a photo of their arrival at Melbourne/Essendon.
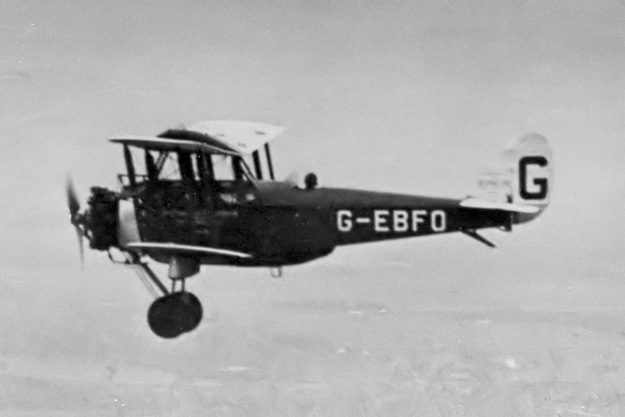
The photo
below shows the D.H.50J on its wheeled undercarriage at an unknown location.

On the return journey, accompanied by Ward and Armstrong-Siddeley representative C. Capel, Cobham
departed Melbourne/Point Cook on 29 August for Adelaide and Darwin, where
the floats were re-fitted, and thence England, arriving on 1 October.
Cobham thus became the first pilot to make a return flight from England
to Australia in the same aircraft. On arrival, Cobham was knighted, Ward
received the AFC and Capel an MBE.
In 1929 the fuselage of G-EBFO was later purchased by Norman Brearley of Western Australian Airways (WAA), fitted with a 300hp ADC Nimbus engine and shipped to Perth. There, wings, tail and undercarriage manufactured by WAA were fitted and the aircraft entered WAA service as VH-UMC. The aircraft's CofA lapsed in 1934.
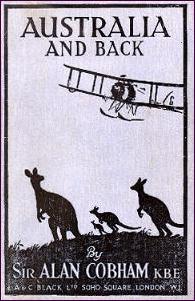
In 1926, the newly-knighted Sir Alan Cobham published the story of his flight, Australia and Back.
Right: Click on this icon to download an article on Sir Alan Cobham's early flights, from Wonders of World Aircraft (1930s). (.pdf file)
(Photos:
1-Herbert Mercer via Frank Long; 2-CAHS collection; 3-CAHS/Edgar Johnston collection; 4&5-CAHS Collection)
Back to the main Items of General Interest index
If this page
appears without a menu bar at top and left, click
here